
DIY / Maintenance / Cabin Air Filter Swap
// DIY Guide
A 20–30 minute job behind the glovebox and center console — two filters, one Torx screw, no special tools beyond a trim tool.
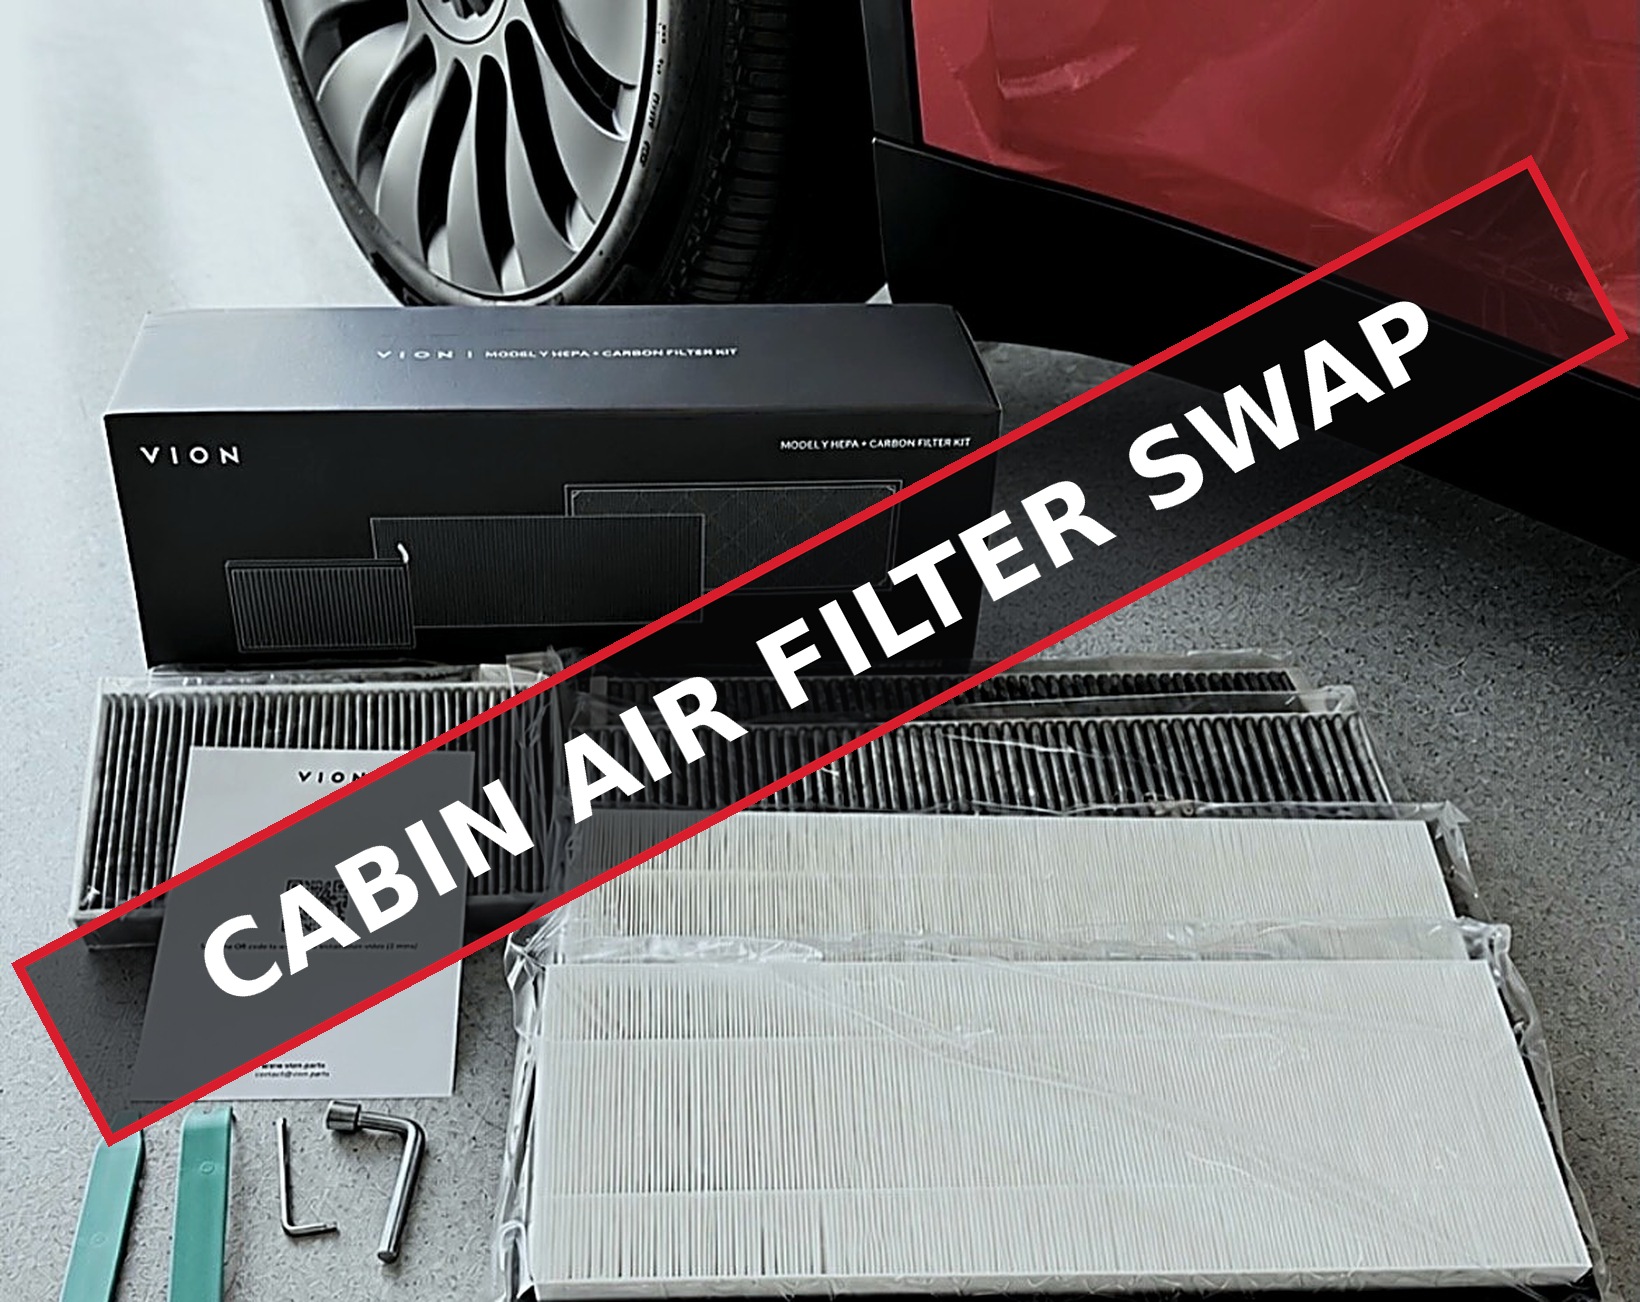
Tesla's cabin air filter lives behind the center console, accessed from the passenger footwell rather than under the hood. It's a bit more involved than a typical filter swap, but entirely doable with basic trim tools — no special equipment beyond a Torx screwdriver.
Purchase directly from Vion, with free shipping and 10% off (code: MODMYCO) — cheaper than Amazon, with shipping and handling times nearly identical, if not faster.
Turn off the HVAC system through the center touchscreen. Slide the front passenger seat all the way back to maximize working space, then remove the passenger floor mat.
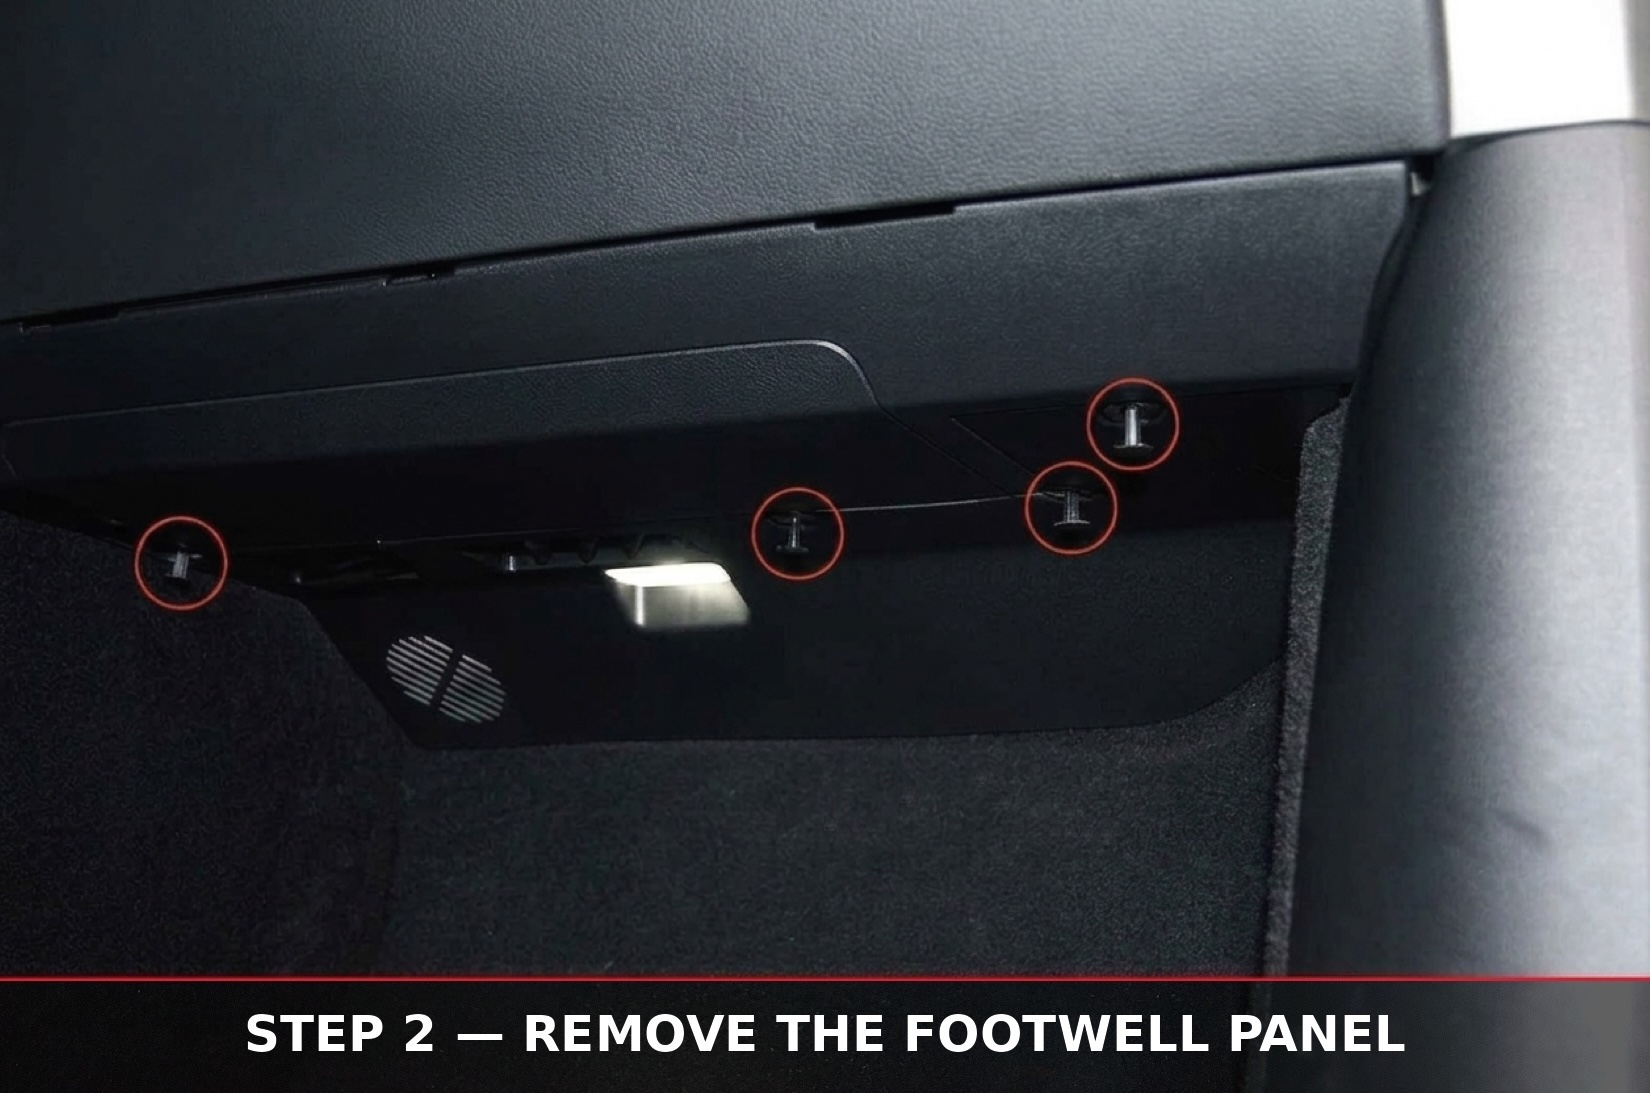
Locate the plastic panel directly underneath the glovebox. Insert a small flathead screwdriver (or the plastic trim tool if one was provided with your kit) into the small opening along the top of each clip and gently pry down. You should notice the clip body protrude lower — repeat this for each clip.
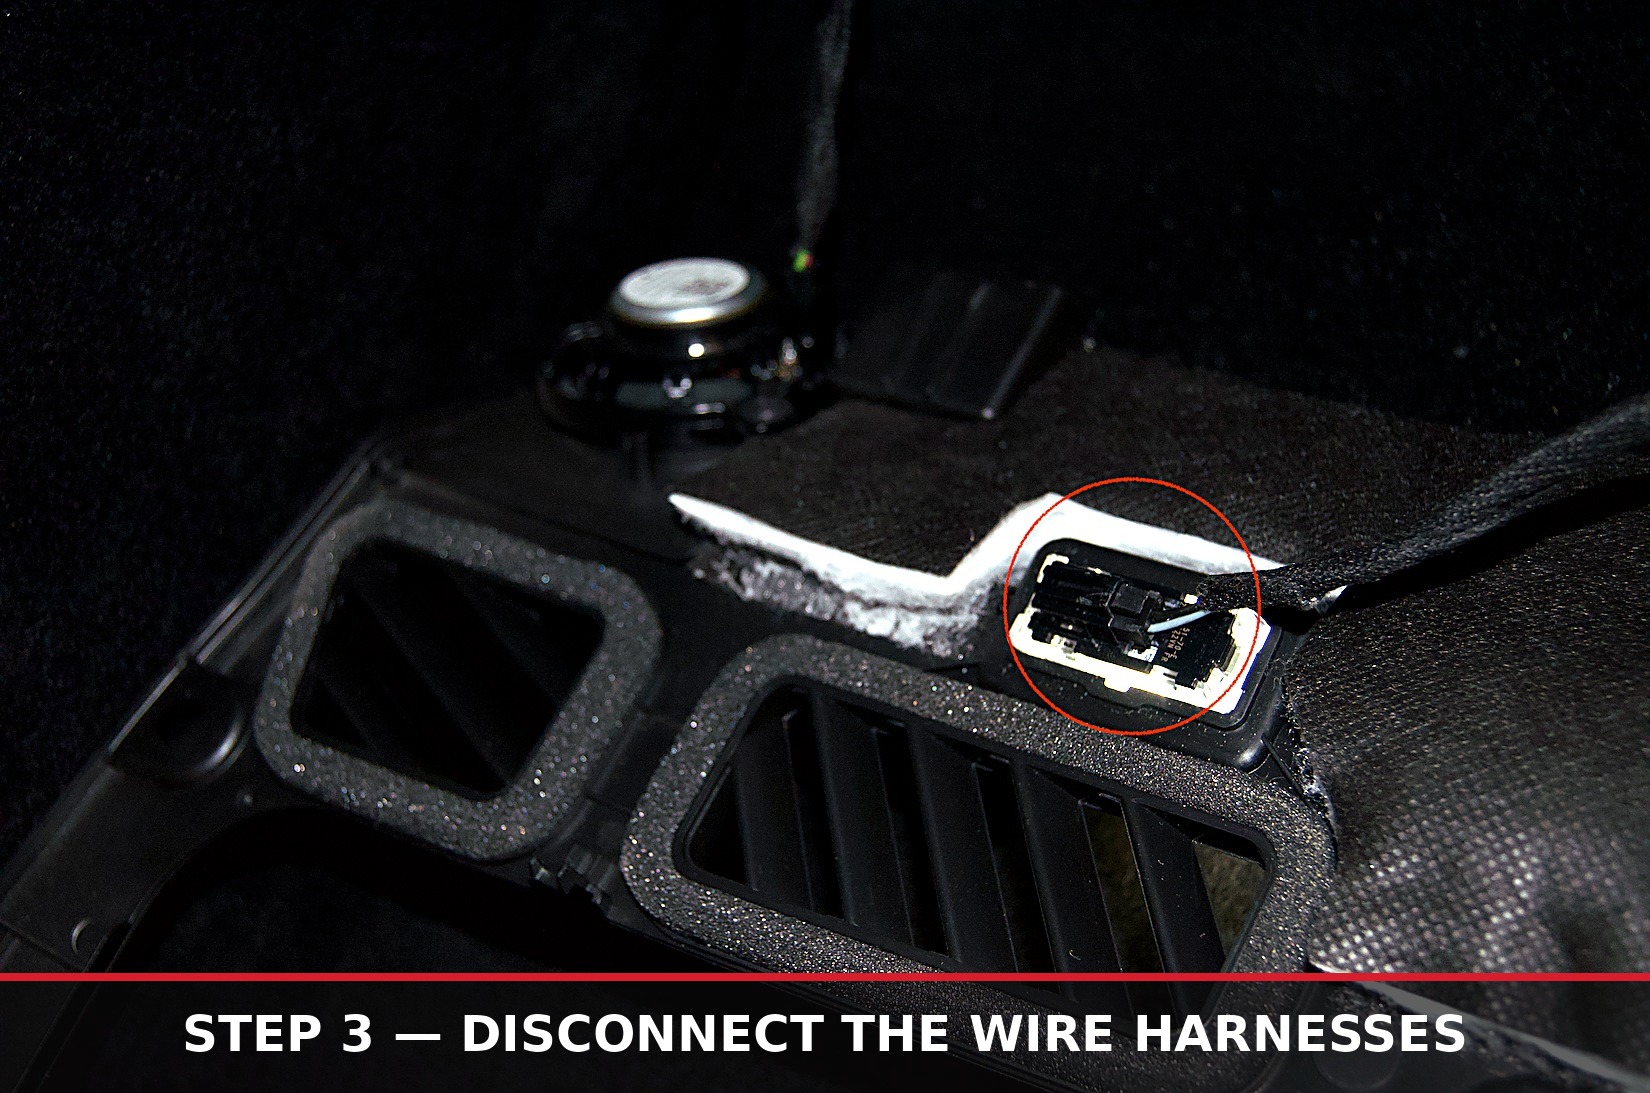
Disconnect the small wire harnesses for the footwell light and speaker, since it lets you set the panel completely aside. Do not pull from the wires — pull from the actual connector.
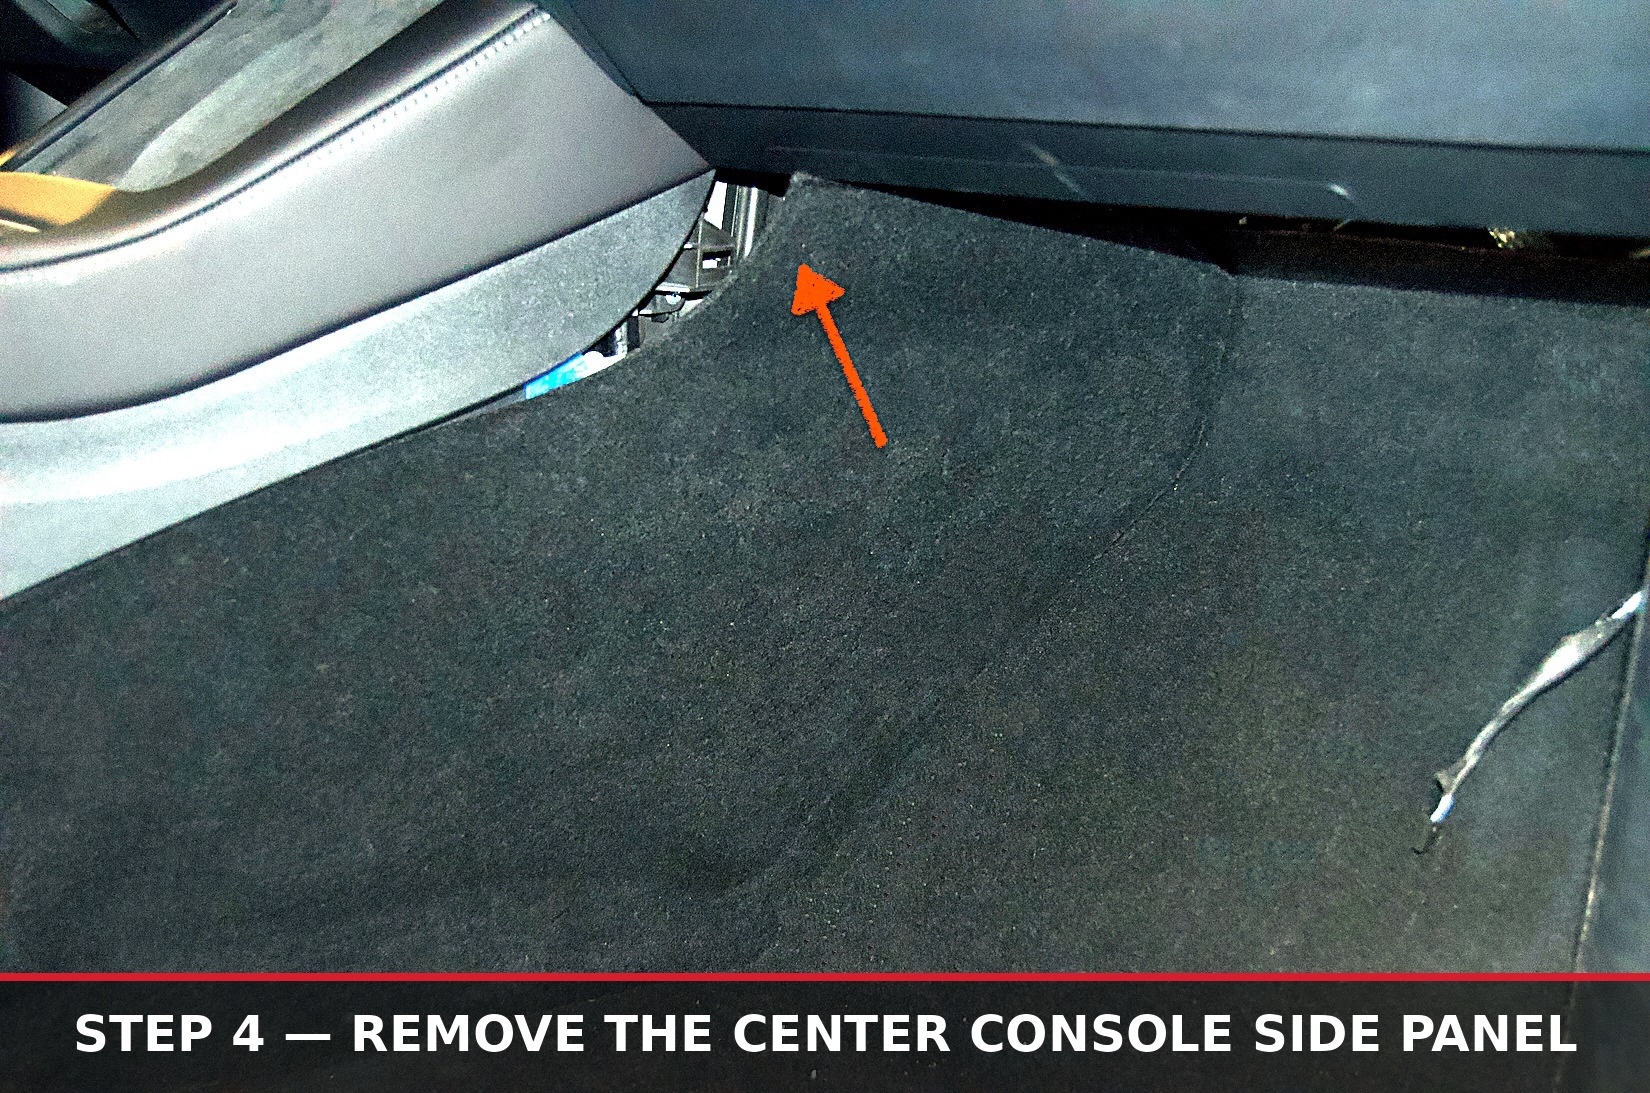
Starting on the top right, use your trim tool to pop open and peel back the carpeted plastic side panel along the right side of the center console, working your way toward the front of the passenger seat.
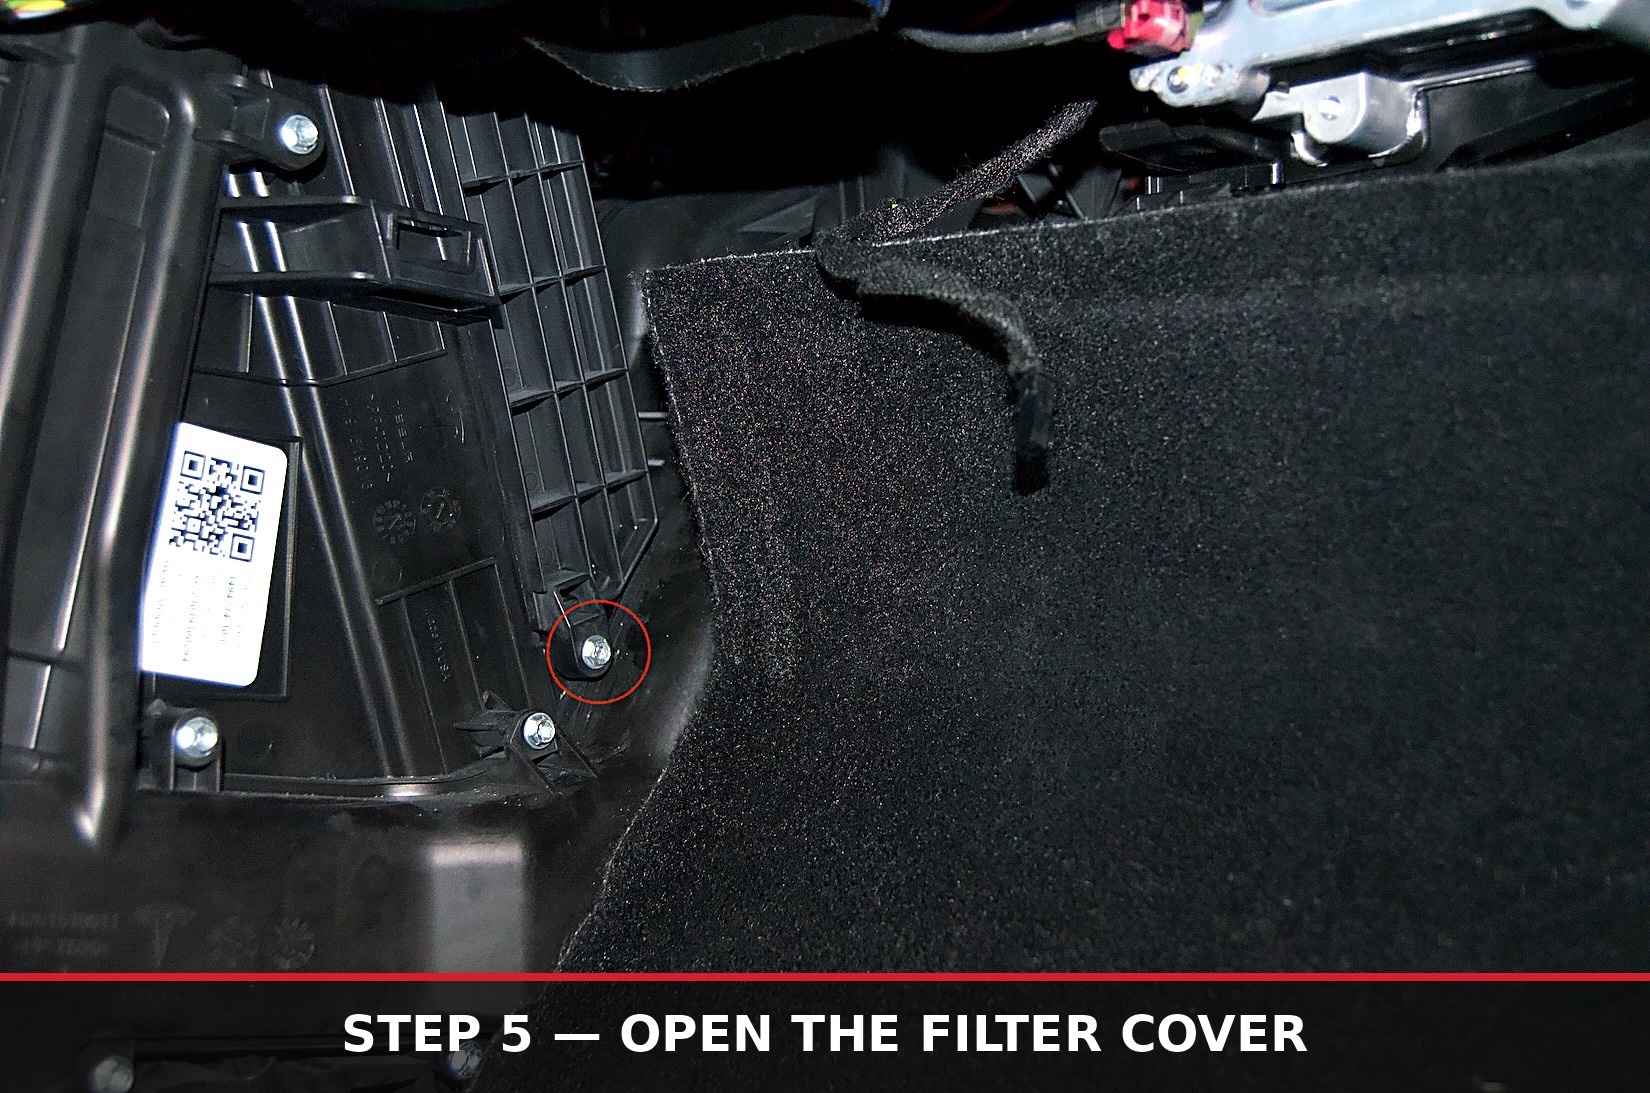
Use your T20 Torx screwdriver (or a 6mm socket) to remove the single screw securing the top of the cover. Pull the cover away, taking care not to stretch any orange High Voltage (HV) wires routed nearby, or lose your screw.
Locate the fabric pull tab on the upper filter, fold it outward, and pull the filter straight out toward the seat. Reach inside, lift the bottom filter straight up into the top slot, and pull it out using its tab.
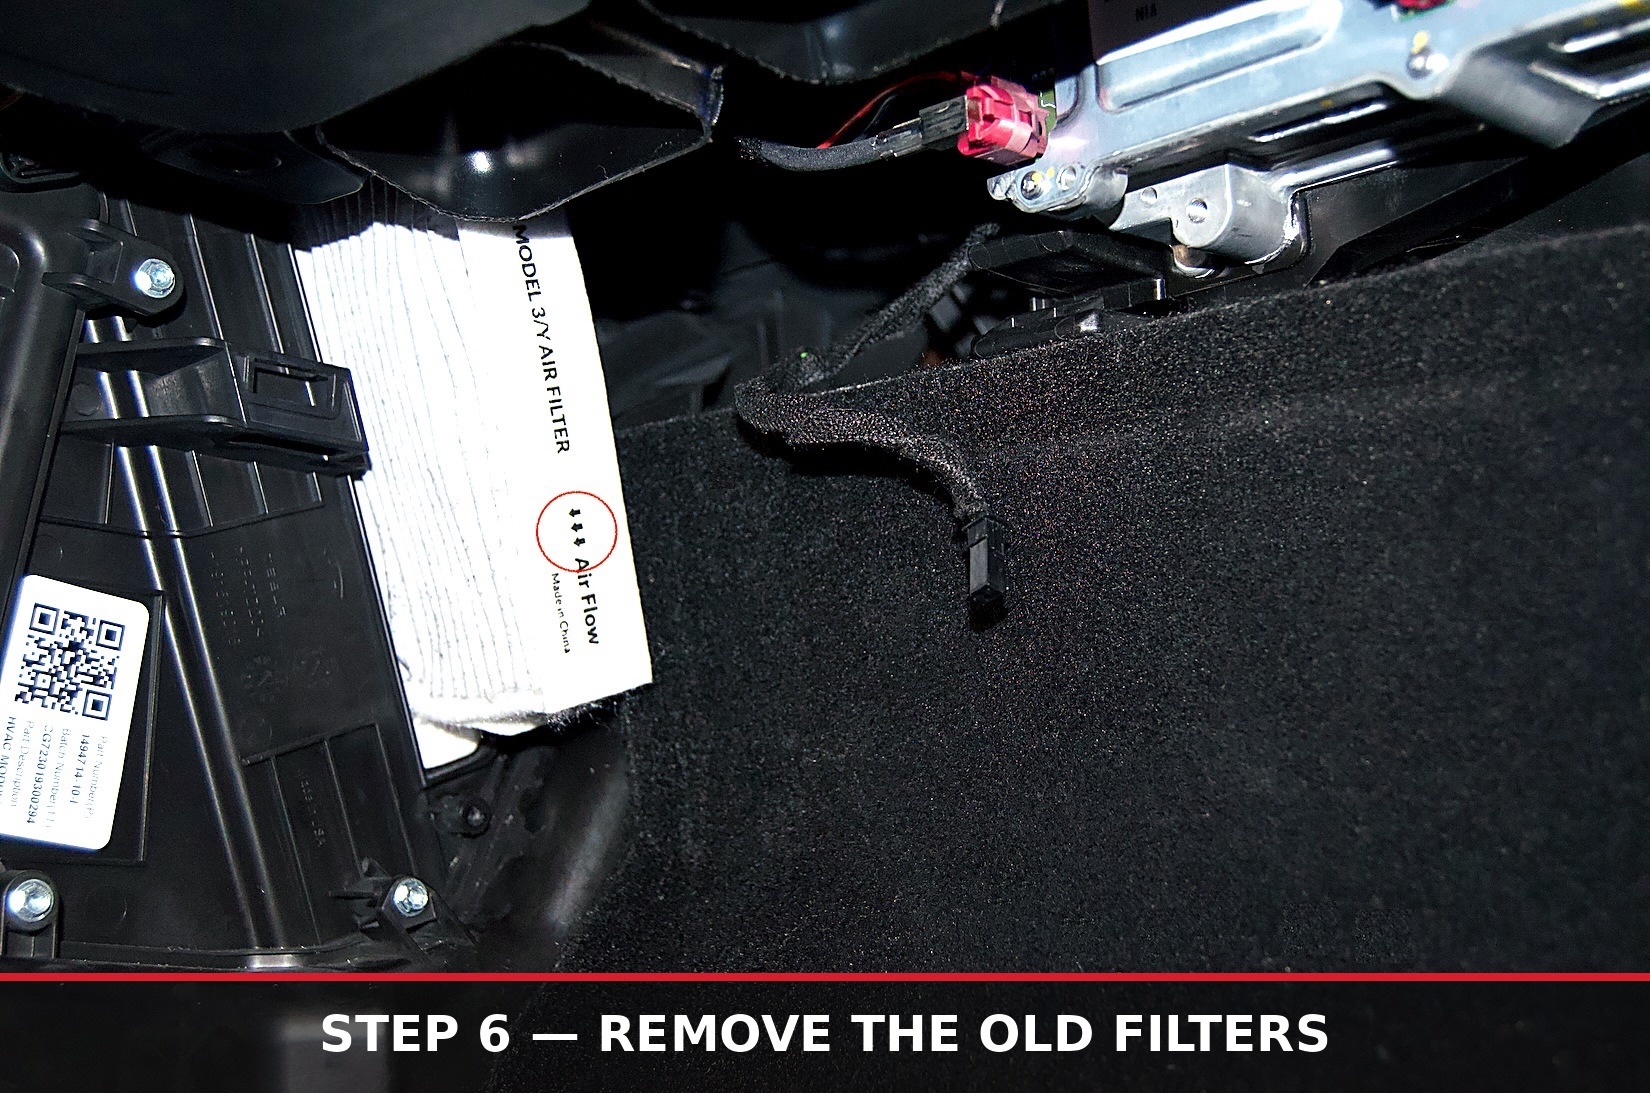
Before installing the new filters, note the airflow arrows printed on the old ones — they point toward the rear of the vehicle, away from the firewall and into the cabin. Slide the first new filter into the housing, push it all the way down to the bottom slot, then slide the second filter into the top slot. Keep the pull tabs facing outward so you can grab them next time.
Re-engage the filter cover tabs, position the door, and secure it with the T20 Torx screw. Realign the center console side panel and press until all clips snap firmly into place, then reconnect any disconnected light/speaker wires and snap the under-glovebox cover back up.
Finally, sit in the driver's seat, navigate to the Service menu on your touchscreen, and reset the cabin air filter replacement interval to clear the maintenance tracking.
If these steps helped you save the $30-60 a Tesla service center typically charges for this swap, feel free to send a tip our way at venmo.com/bhaaaandari — it goes straight back into keeping modMY running and growing.
Steps above are accurate as of July 2026 and sourced from Tesla's official documentation. Tesla updates its manuals as new trims and running changes roll out, so always cross-check against Tesla's Owner's or Service Manual for your specific vehicle before you start.
This information is provided for reference only and does not replace Tesla's official documentation. modMY is not responsible for any damage, injury, or mechanical issues resulting from improper disassembly, damaged trim clips or wiring, incorrect filter installation, or failure to follow proper procedure and safety precautions — including care around High Voltage wiring. Work on your vehicle at your own risk, and consult a qualified technician if you're unsure.