
// Cleaning & DIY
The cleaning supplies and tools we actually reach for — pulled from our own detailing routine and every DIY guide on the site, gathered in one place.
Affiliate Disclosure: We may earn a commission from qualifying purchases made through links on this site, at no cost to you. It helps keep the site and content flowing.
L3 Detail Bay

Purchase directly from Vion, with free shipping and 10% off (code: MODMYCO) — cheaper than Amazon, with shipping and handling times nearly identical, if not faster.

This is formulated specifically for Tesla's vegan leather, not a generic all-purpose cleaner, and it shows in how gentle it is on the material. A little goes a long way — you really only need a couple sprays per section. Spray it onto a microfiber cloth first rather than directly on the seat, then wipe clean; that's the method that's worked best for me. Keeps the seats looking new without any of the dryness or fading some cleaners cause over time.
View on Amazon
This applies easily and dries fast, which matters a lot with a white vegan leather interior — one swipe and it's not sitting there waiting to attract dust like some sealants do. It's become the natural pair to the Vegan Leather Cleaner: clean the seats, then seal them, and stains from juice boxes and snack messes wipe up instead of soaking in. A little goes a long way with both products, so a small bottle lasts way longer than you'd expect. With two kids in the back seat, this combo has saved the interior more times than I can count.
View on Amazon
This is a straightforward drying towel, and that's really all it needs to be — it pulls most of the water off the exterior fast enough to actually beat water spots forming. The method is dead simple: get it wet, wring it out, glide it across the body, wring it out again, repeat. No special technique required, just don't skip the wringing or you're just pushing water around instead of lifting it.
View on Amazon
I'm a big fan of Chemical Guys products in general — they're reasonably priced for the quality you get, and I'd rather buy once and cry once than keep replacing cheaper stuff every few months. What stood out with this mitt specifically is that even on the first use, it didn't leave any of those little fuzzies on the paint that some of the cheaper mitts I've used before always seemed to shed. Small detail, but it's the kind of thing that tells you the quality is actually there.
View on Amazon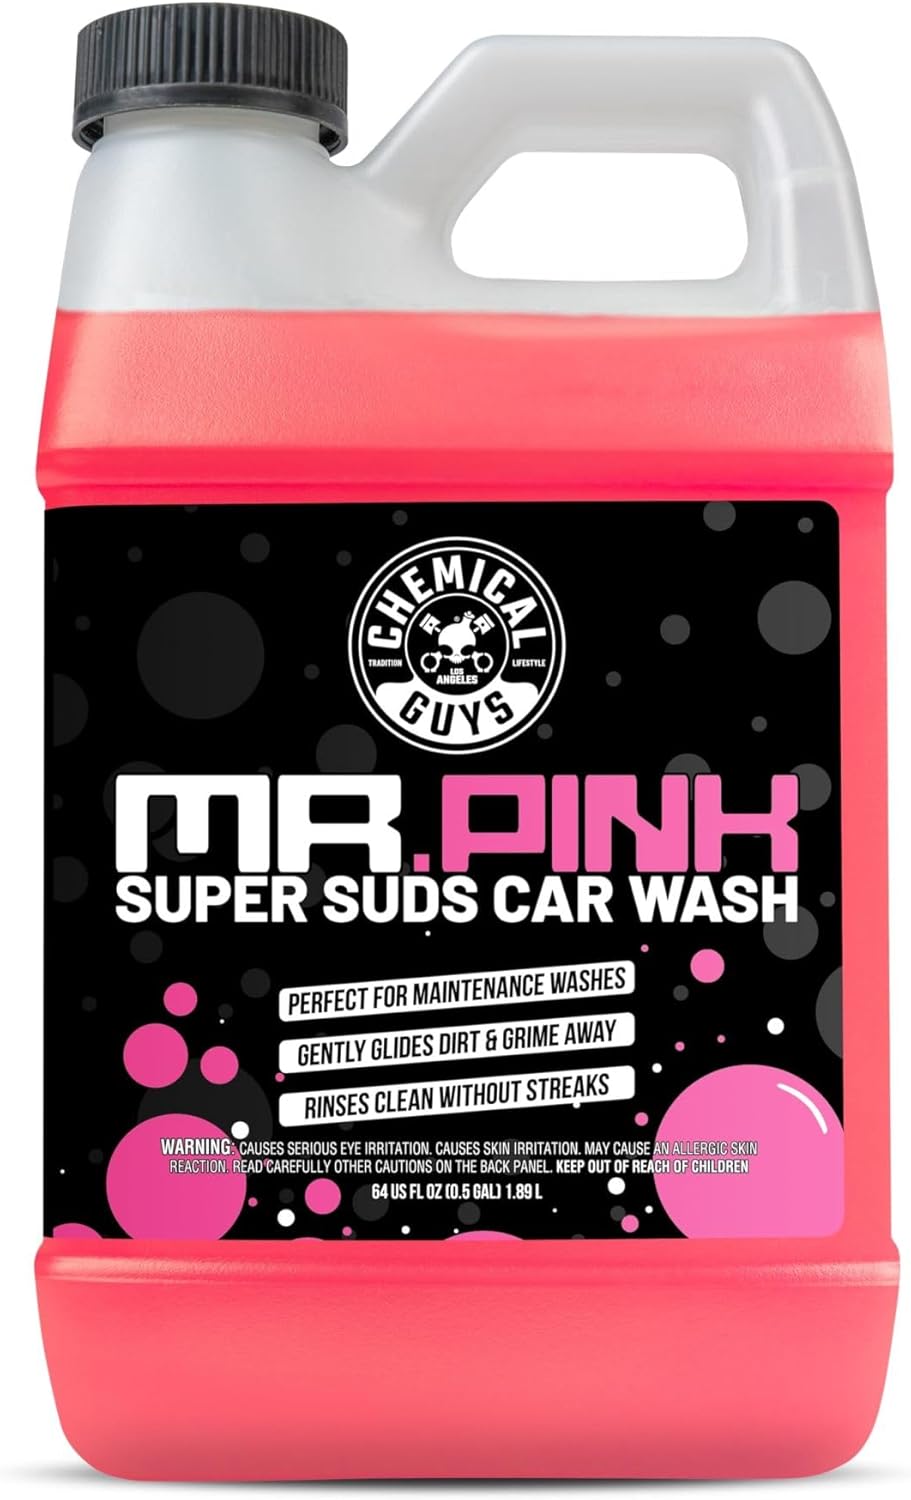
Another solid one from Chemical Guys. I like that it works both ways — through a foam cannon or just dumped straight into a wash bucket — so there's no need to keep two different soaps around depending on how you're washing that day. It lathers well, smells good, and leaves a noticeably nice shine once it's rinsed off.
View on Amazon
You can find these just about anywhere, but I've noticed online shops tend to carry bigger packs than what you'll see in a store, which is worth it since these get used on literally everything. I keep a handful in the car — one in each door compartment, a few in the trunk — plus more out in the garage. You genuinely can't have too many of these lying around.
View on Amazon
I've tried a handful of glass cleaners over the years, and for whatever reason this one consistently leaves fewer streaks than the others I've used. It does have a bit of a smell to it when you first spray it, but it fades quickly and isn't something that lingers. I'll take this over Windex every time at this point.
View on Amazon
This thing is small but the suction is way stronger than I expected for something this size, and the blower mode is just as handy. It's become my go-to for cleaning up whatever mess the kids leave behind — crumbs, cracker dust, the usual chaos. I've also used the blower side to clear debris out of the frunk and trunk compartments. Compact, actually useful, and it's earned a permanent spot in the car.
View on Amazon
The black trim on this car fades embarrassingly fast if you don't stay on top of it, and this is the only restorer I've used that doesn't just mask the problem for a week. It goes on easily without leaving a greasy residue, and the finish actually holds up through rain instead of streaking off after the first wash. A little goes a long way, so the bottle's lasted way longer than I expected for the price. It brought back trim I genuinely thought was too far gone to save. I keep a bottle in the garage now and just touch it up every month or so.
View on Amazon
This is the jack I actually use for tire rotations in the garage — no need to book a service appointment just to swap corners. It's rated well above what the Model Y needs, so there's margin for error, and it lifts smoothly without the jerky pumping some cheaper jacks have. Pair it with the correct jack pads and you've got everything needed for a full DIY tire rotation.
View on Amazon
Tesla's battery pack runs along the underside of the car, so a standard jack puck in the wrong spot risks real damage. These are shaped to sit exactly on the Model Y's factory lift points, so you're not guessing where it's safe to jack. I keep a set in the frunk permanently now — cheap insurance for something you really don't want to get wrong.
View on Amazon
Wheel bolts have a real torque spec, and eyeballing “tight enough” with a regular ratchet is how you end up either loosening over time or stripping the threads. This one's easy to set and clicks right at the correct torque, no guessing involved. If you're doing your own tire rotations, this is the one tool I wouldn't skip.
View on Amazon
The Model Y's factory wheel bolts take a 21mm socket, which isn't always the size that comes in a generic set. This one's a straightforward, no-frills fit that pairs directly with the torque wrench above — no adapters, no rounding off the bolt heads.
View on Amazon
Half the interior and frunk panels on this car are held on with plastic clips, and a screwdriver will crack them if you're not careful. This tool is shaped to get under trim without marking or snapping anything — I've used it for the cabin filter swap, the frunk filter swap, and the radiator cleaning job without a single broken clip.
View on Amazon
A lot of the panel screws on this car are Torx, not Phillips, and a T20 is the size you'll hit again and again — cabin filter housing, frunk filter panel, a handful of other spots. Having one dedicated screwdriver on hand beats digging through a bit set every time you need it.
View on Amazon
These are the filters I actually installed for the cabin air filter swap — HEPA and carbon combo, direct fit, no cutting or trimming needed. Doing it yourself takes about ten minutes and saves the service center markup for what's a genuinely simple swap.
View on Amazon View on VionPurchase directly from Vion, with free shipping and 10% off (code: MODMYCO) — cheaper than Amazon, with shipping and handling times nearly identical, if not faster.

Companion filters to the cabin set, but for the frunk intake — same straightforward swap, just a different panel. Keeps outside air actually filtered instead of passing through unfiltered vents, and it's another quick DIY win instead of a service center trip.
View on Amazon View on VionPurchase directly from Vion, with free shipping and 10% off (code: MODMYCO) — cheaper than Amazon, with shipping and handling times nearly identical, if not faster.

Not Tesla-specific, but this is what I used to clear years of debris out of the radiator and condenser fins during the radiator cleaning job. A hose extension makes a real difference getting into the tight frunk cavity — a regular household vacuum just doesn't reach.
View on Amazon
Not a must-have, but a nice one for keeping the interior clean without damaging the vegan leather. This, paired with the vegan leather cleaner and ceramic shield, has kept my interior looking like it just came from the dealer.
View on Amazon