
DIY / Maintenance / Frunk Filter Swap
// DIY Guide
A bit more involved than the cabin filters — ten Torx screws and four filter pieces, but still nothing beyond basic hand tools.
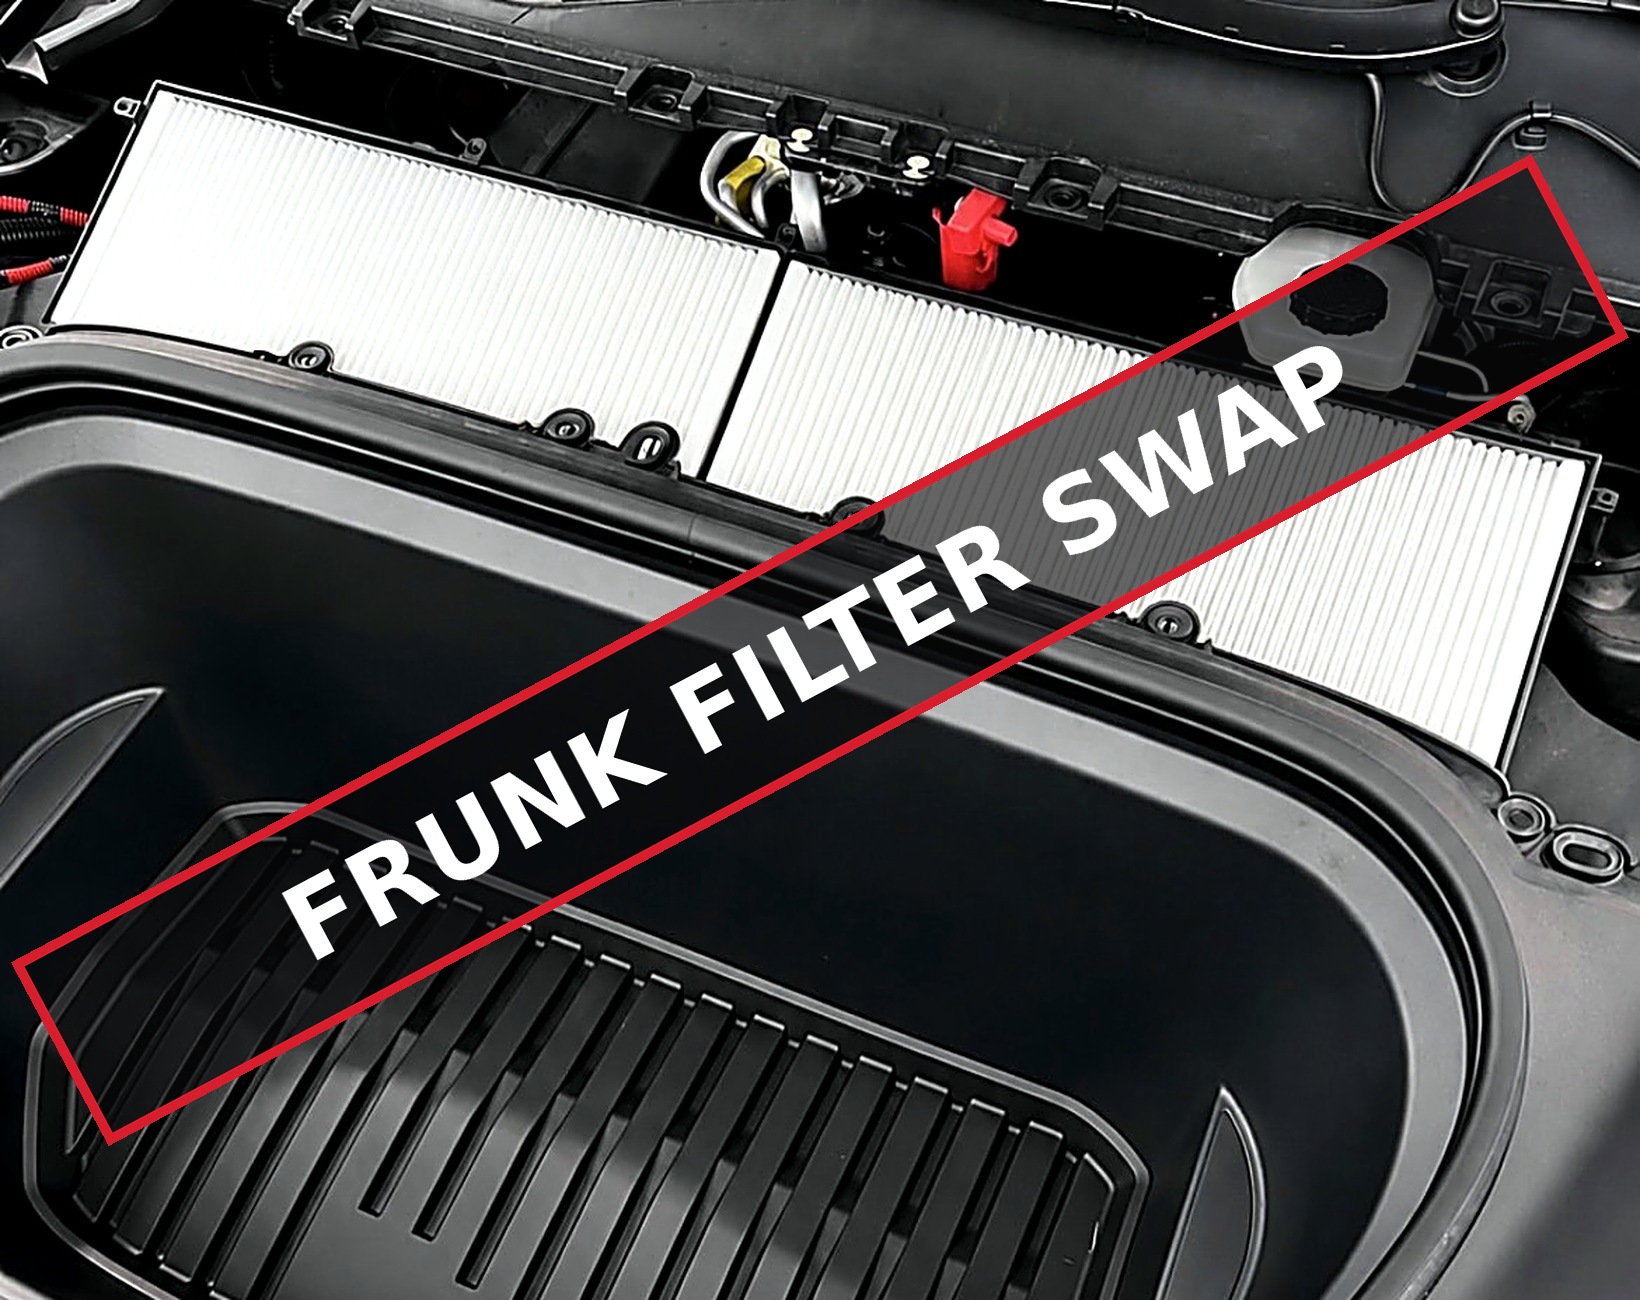
The frunk filter system sits up front, mounted above the frunk bin near the engine bay, and pre-filters outside air before it reaches the cabin. It's a bit more time-consuming than the cabin filter swap simply because of screw count — ten Torx 20 screws instead of one — but every step is straightforward with basic hand tools. A power driver with a Torx 20 bit will save you a good bit of time over doing all ten by hand.
Purchase directly from Vion, with free shipping and 10% off (code: MODMYCO) — cheaper than Amazon, with shipping and handling times nearly identical, if not faster.
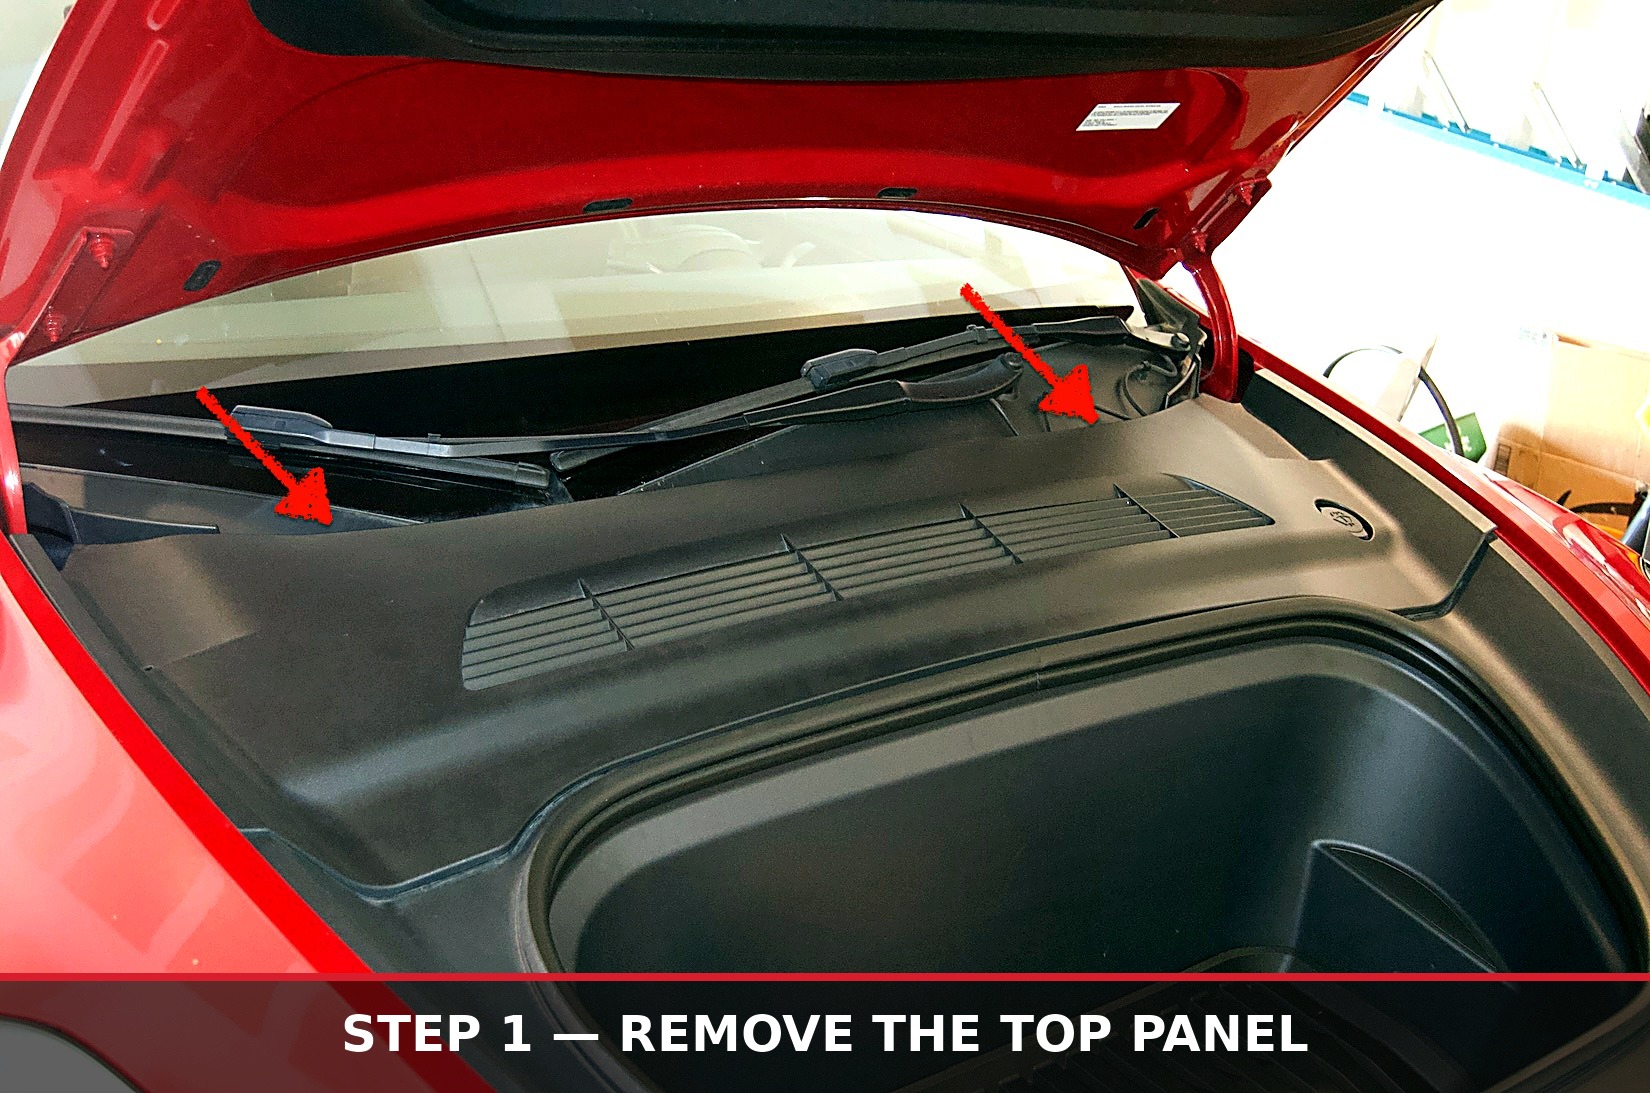
Remove the top panel covering the frunk filter housing. It's held on by a handful of plastic clips that stay attached to the cover itself rather than the car, so there's nothing loose to lose track of. Start on one side and lift gradually until you feel the clips pop free, then work your way across. Set the cover aside somewhere safe.
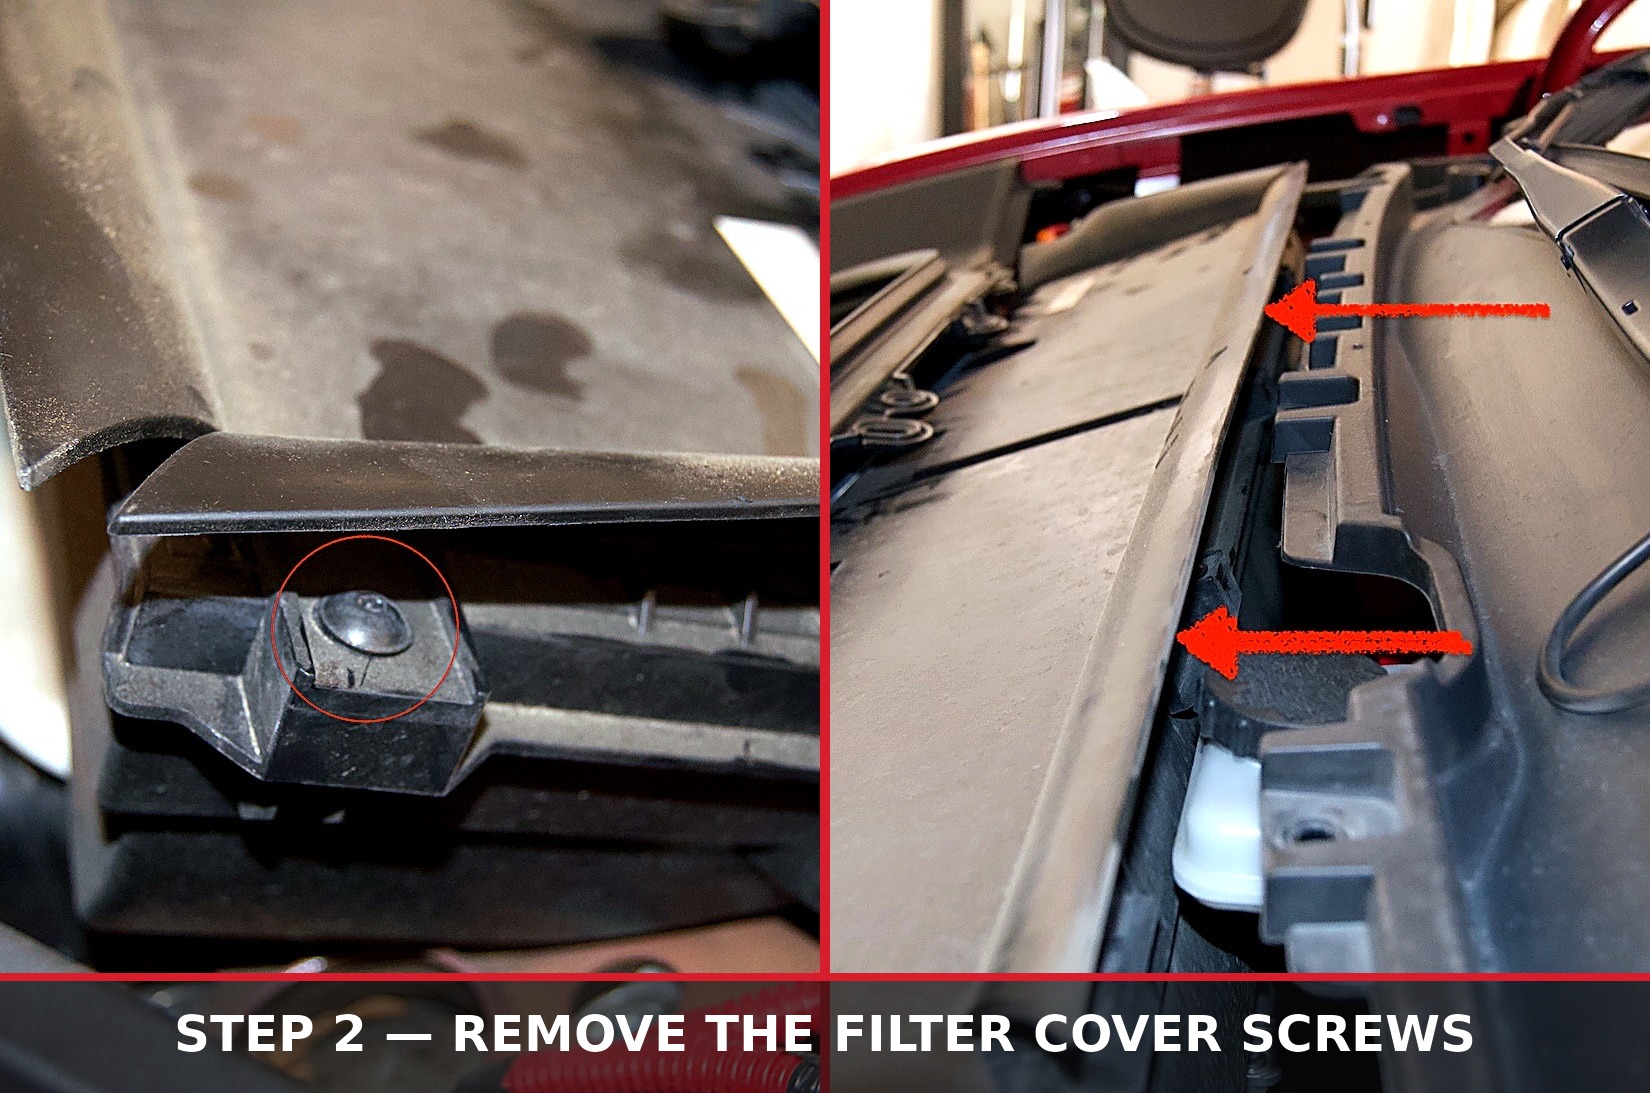
Remove the 10 Torx 20 screws holding the filter cover panel in place. There's one screw on its own on the passenger side, with the rest split between above and below the rubber seal. Take your time here — if a screw drops down into the housing, it's a genuine hassle to fish back out, and it will not be a good day. Once all 10 are out, the filter cover lifts away; set it aside along with the screws so nothing gets lost.
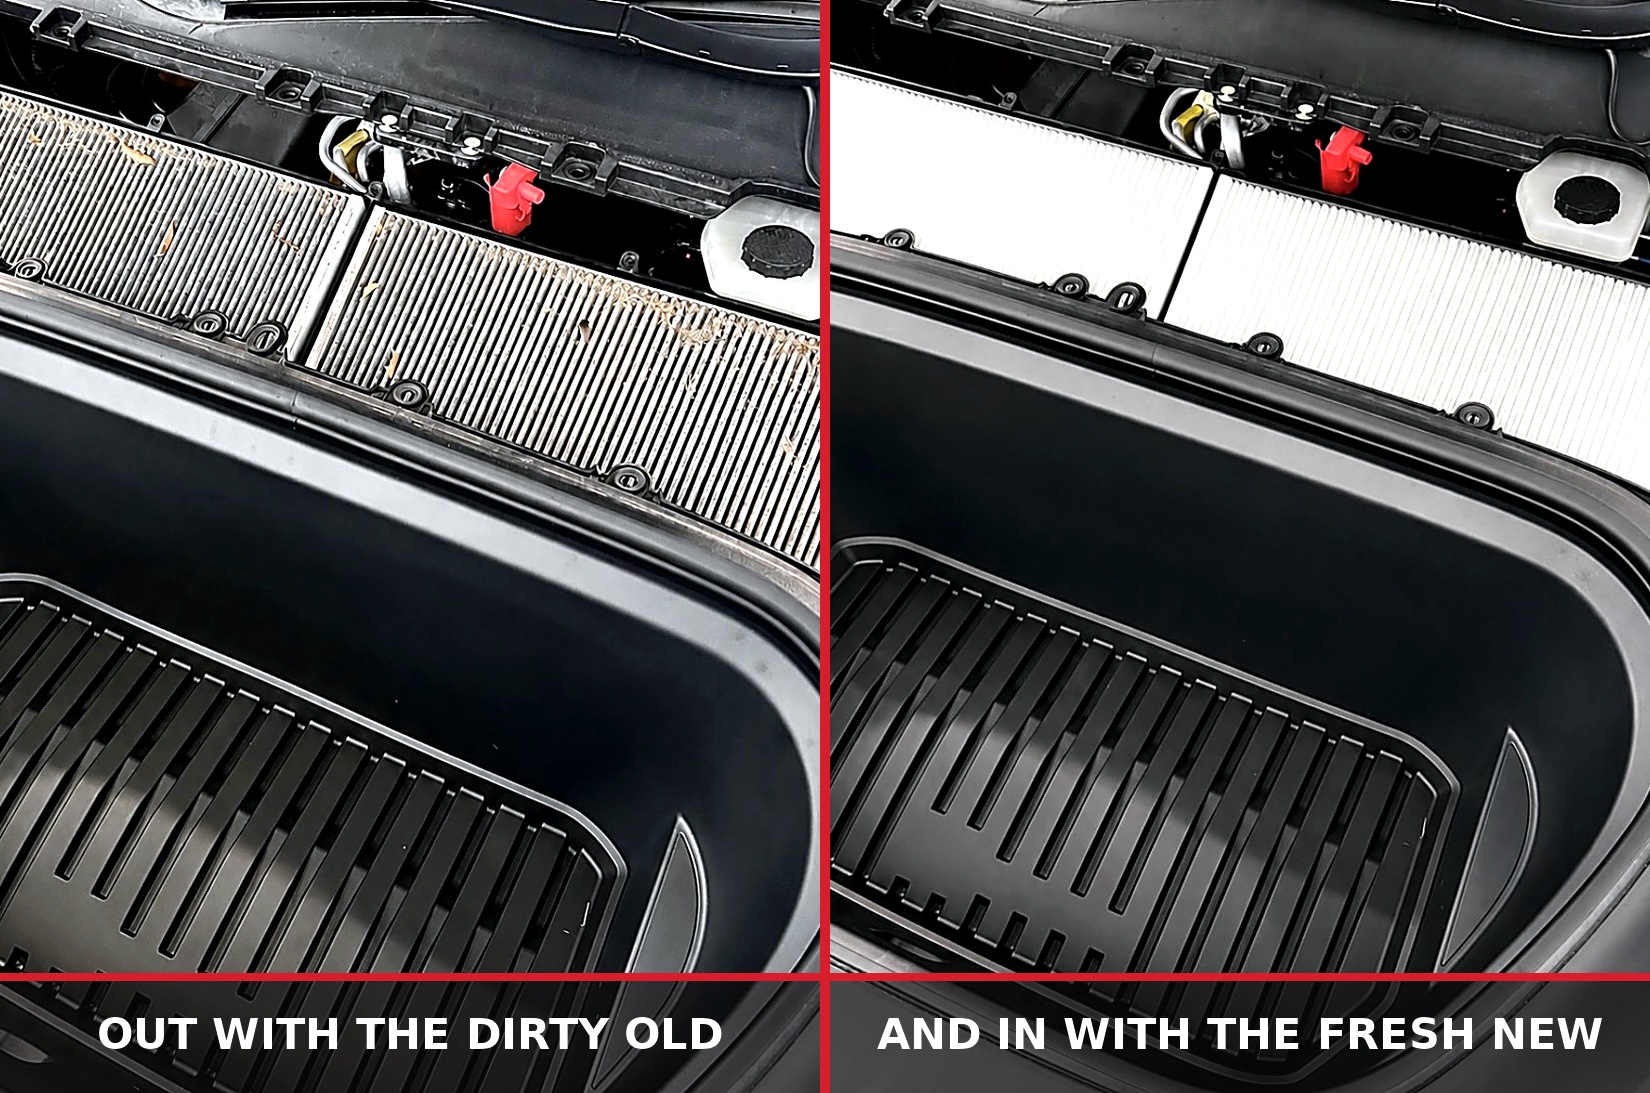
This one's simple — remove all four existing filter pieces and swap in the new ones. They're not side-specific, so either filter set can go on either side. Just make sure the actual filter element ends up on top of the backing piece, not underneath it.
Reinstall the cover and all 10 Torx 20 screws in reverse order. Align the top panel back into place and press down along both sides until the clips seat firmly.
If these steps saved you a trip to a Tesla service center, feel free to send a tip our way at venmo.com/bhaaaandari — it goes straight back into keeping modMY running and growing.
Steps above are based on a real, hands-on frunk filter swap performed on a Tesla Model Y. Tesla updates its manuals and hardware as new trims and running changes roll out, so always cross-check against Tesla's Owner's or Service Manual for your specific vehicle before you start.
This information is provided for reference only and does not replace Tesla's official documentation. modMY is not responsible for any damage, injury, or mechanical issues resulting from improper disassembly, damaged clips, lost hardware, incorrect filter installation, or failure to follow proper procedure and safety precautions. Work on your vehicle at your own risk, and consult a qualified technician if you're unsure.